Setting an automatic reply, helps you to enjoy your time without having to ensure that you have to inform your client about your absence. Moreover, it allows your client to reach out to another team member in times of emergency.
How to Set an Out of Office on Outlook? (Unveiled)
Updated on: Jul 17, 2024
Are you going on vacation or attending a wedding, and want to set up an out of office email?
You are in luck because Outlook has an Automatic Reply feature!
This automatic reply feature allows users to set up an automatic out-of-office email to inform the recipient that their query won’t be answered. Moreover, it clarifies to the sender that they should contact another person for emergency assistance.
Intrigued to learn how to set an out-of-office on Outlook? Read this article till the end to find out!
Windows: How to Set an Out of Office on Outlook?
Looking to schedule an out of office on Outlook? By following the mentioned steps, you can set an out of office on Outlook, on any Windows device.
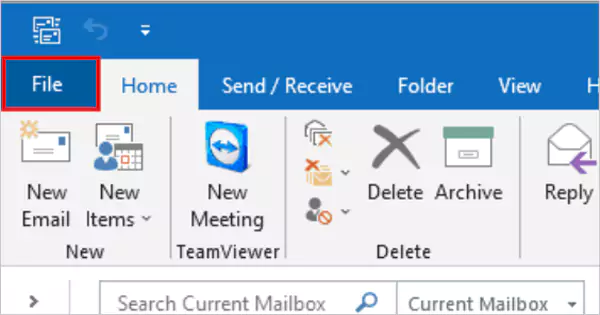
- Go to Outlook, and click on Files in the top left.
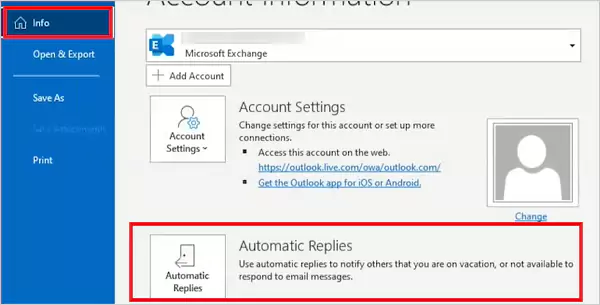
- Now, go to Info and tap on Automatic Replies.
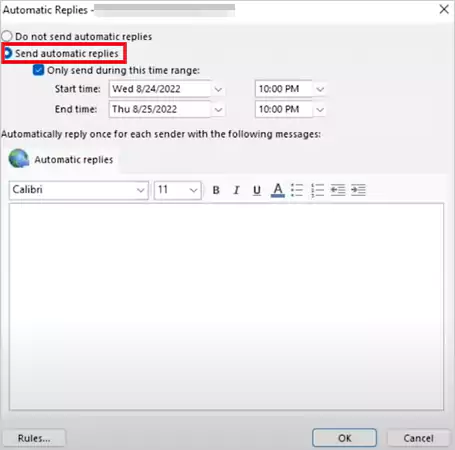
- In this pop-up, select the circle against Send Automatic Replies.
- Click in the box to Only Send During This Time Range, and then set up the start time and end time of these Automatic Replies.
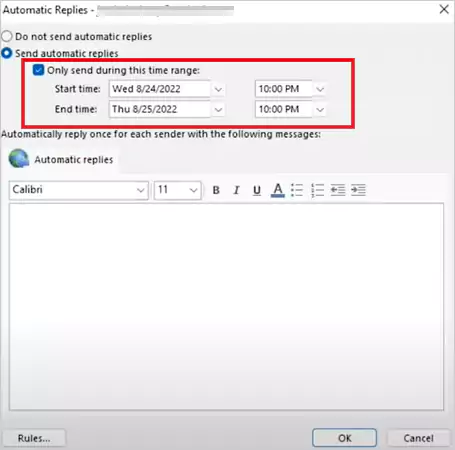
- Draft in your automated message.
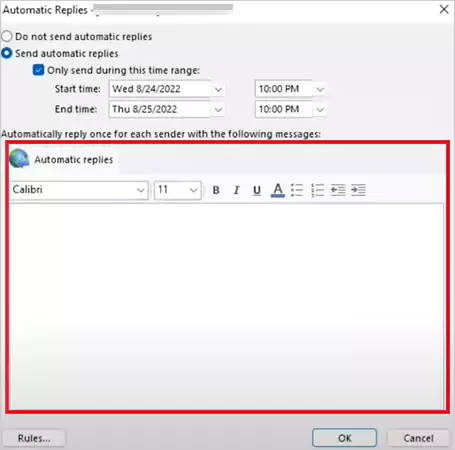
- At last, press OK.
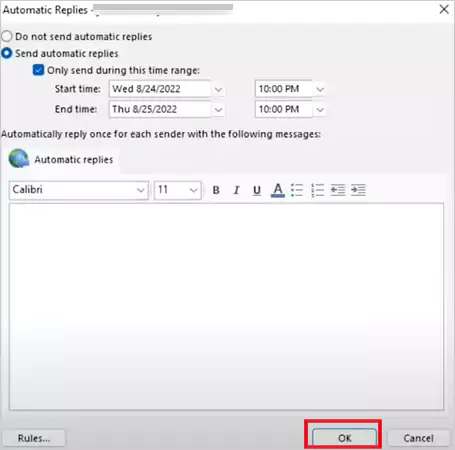
By following the aforementioned steps, you can achieve the automatic replies feature in your system.
You have to write a message in the field, or there is a big chance that your automatic reply won’t go through even after you have set it.

This is how you can set automatic replies in Outlook on any Windows device. Do you want to do the same on macOS? In the next section, read how to set out of office in Outlook’s Mac version.
Steps to Set Up Out of Office in Outlook 365 on Mac
Outlook on macOS differs from that on Windows. For that reason, we have provided efficient steps using which you can set out of office message Outlook’s macOS version,
- Go to Outlook, and select Tools.
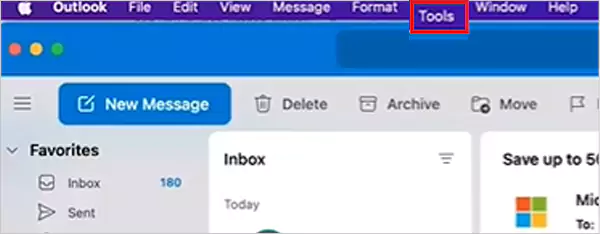
- In the pulled-down menu, choose Automatic Replies.
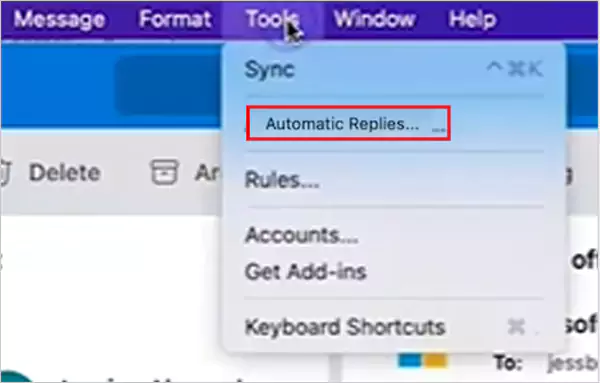
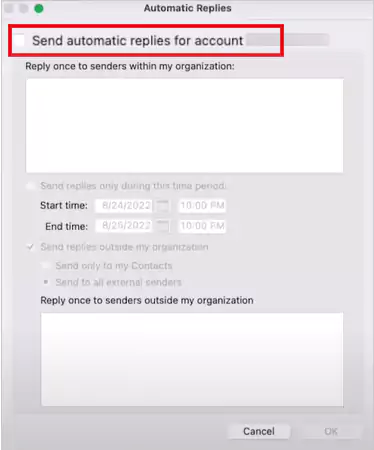
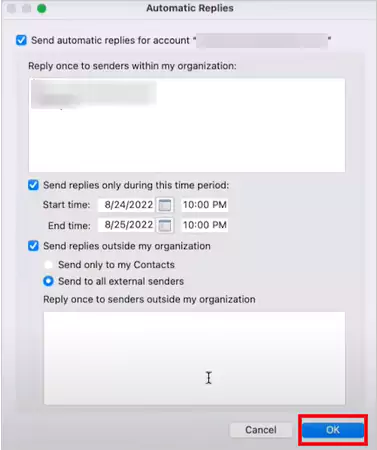
- The pop-up of Automatic Replies will appear. Here, click the box adjacent to Send Automatic Replies for Account.
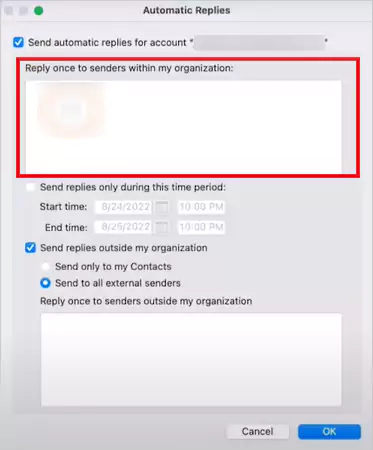
- Draft your automated reply.
- Now, enable Send Replies Only During This Time Period, and schedule the time frame.

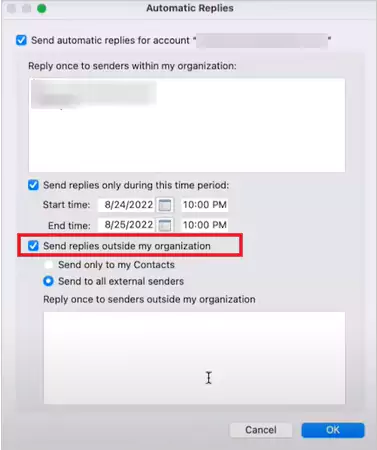
- Moreover, if you want to inform the external shareholders, ensure that the box against Send Replies Outside My Organization is selected.
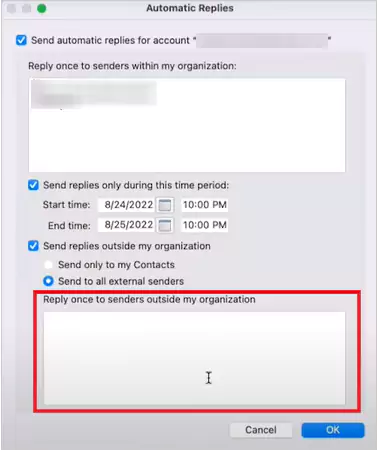
- Here, draft your message for the individuals out of your organization.
- At last, press OK.
Using these previously mentioned steps, you can easily yet effortlessly set automatic reply in Outlook on any Mac device. Furthermore, Outlook also has an app version so that you don’t miss out on important emails. You can also set OOO in the Outlook application; scroll down to the subsequent section to learn how!
How to Set Out of Office in Outlook App?
The interface of the mobile version of Outlook is completely different from that of the system. Wondering how to set out of office in Outlook app? Keep scrolling to find out!
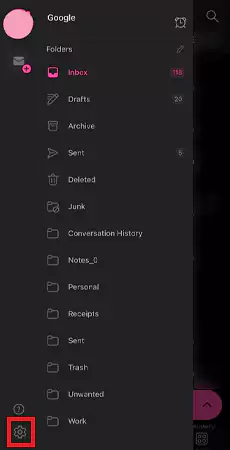
- Open the Outlook mobile application, and tap on the Profile Icon, in the top left of the screen.

- Now, click on the Settings Icon at the bottom.
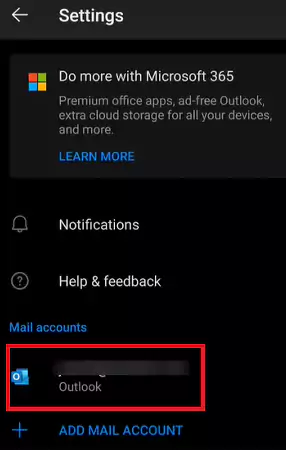
- Navigate to Mail Account, and hit Your Account.
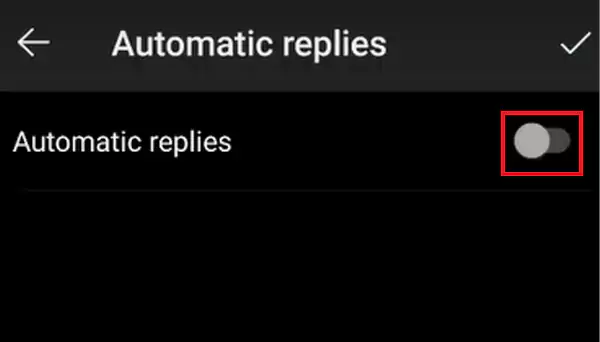
- Here, locate and press Automatic Replies.
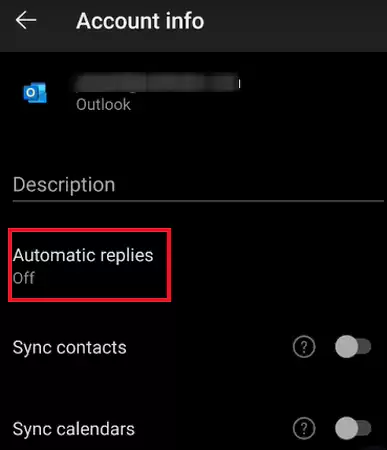
- Toggle ON to Automatic Replies.
- Draft your message.
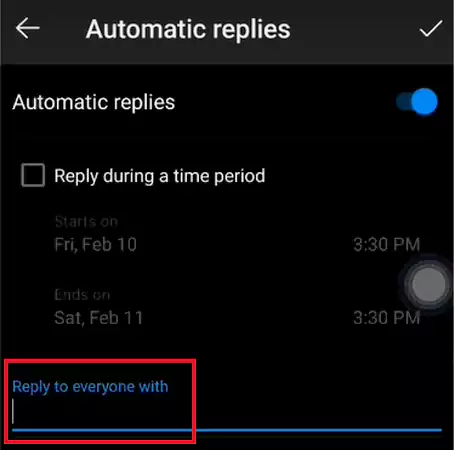
- Click on the box for Reply During a Time Period.

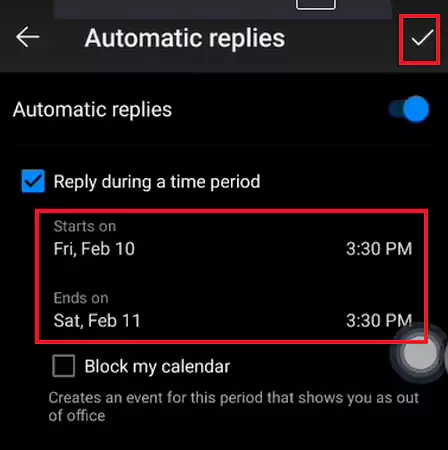
- Schedule the time period, and select the Tick in the top right corner.
It’s always better to make sure that the Automatic Replies are turned on, before exiting the application. Upon following the above-mentioned steps, you can easily set out of the office in the Outlook app.
Reasons to Set Out of Office Message Outlook 365
The out-of-office reply feature in Outlook can come in handy for many reasons. Some of the top reasons why you should set up out-of-office in Outlook 365 are as follows, so give them a good read.
- To inform your colleagues and clients about your unavailability.
- In an emergency, your clients are made aware that they have to reach out to someone else instead of waiting for a swift response.
- Your team takes care of your tasks rather than waiting around.
These were the few reasons why people set out of the office Outlook app.
Wrapping Up
Using the aforementioned steps, setting out of office in Outlook app, is effortless yet efficient. Setting an out of office automated email acts as a way of notifying a company’s internal and external stakeholders about your unavailability.
It’s beneficial to add the exact number of days you are going to be unavailable, so the other individual has an idea of when to expect a reply. Other than this, you should add a professional greeting, a contact in the event of an emergency, etc. in your Out of Office (OOO) email.
Frequently Asked Questions
What is the use of setting automatic replies?
How do I indicate out of office in Outlook?
You can indicate out of office in Outlook by enabling and setting the in-build feature of automatic reply. This way, your clients will know about your unavailability without you putting in any effort.
Where is out of office setting in the Outlook app?
You can find out of office in the settings of the Outlook app, by opening Outlook>>Profile Icon>>Settings>>Mail Account>>Mail ID>>Automatic Replies>>Toggle ON>>Set up Message & Time>>Tick.
How to set out of Office in Outlook without auto-reply?
You cannot set out of office in Outlook, without the auto replies feature available in the application.

Related Posts
The Data Models Powering the Next Creative Revolution in Video Generation
Artificial intelligence has evolved from a mere tool to the cornerstone of advancements in the new era. Over the years,…
Solar Software Companies: How Platforms Improve Cross Team Collaboration
“If everyone is moving forward together, then success takes care of itself.” — Henry Ford (Industrialist & Business Magnate) Handoffs…
What Healthcare Leaders Expect From Digital Tools
Healthcare executives are under pressure to protect patient safety, clinician time, and data privacy while modernizing the delivery of care.…
How to Reset Android Phone When Locked? (Safe Factory Reset Methods)
Locked out of your Android phone or stuck on the screen? It happens more than you think. A forgotten PIN,…
How to Transfer Contacts from Android to iPhone: 4 Easy Methods
Switching from Android to iPhone should not feel like rebuilding your life from scratch. Restoring contacts on iPhone should be…

White Label Ad Server vs Development From Scratch: What to Choose
Even though the DSP segment is the largest market within AdTech at the moment, an ad server remains a crucial…
How Data Infrastructure Powers Next-Gen Mobile Recognition Apps
Modern digital applications have evolved with time, offering various functionalities to users that weren’t possible or even imaginable before. But…

How Poor Contract Visibility Leads to Revenue Leakage in Growing Companies
Growth is an important factor that determines the success rate of any business. When we witness new operations, partnerships and…

Managing Bitcoin Operations? Here’s How Salesforce Automation Helps
“Digital currency is here to stay, and it’s only a matter of how long before governments embrace it.” — Brad…