Go to File >> Options >> Mail >> Stationery and Fonts. Choose the font of your choice and click ‘OK’ to save the changes.
How to Change Default Font in Outlook? – For Versions 2019, 2016, 2013, 2010, 2007, 2003, and Outlook for Microsoft 365
Updated on: Aug 12, 2024
Table of Contents
The font style and size used while writing our emails have a vital impact on the overall readability and appeal. Microsoft recently switched from Calibiri to Aptos, and many users are not pleased with this decision.
Nevertheless, beyond fonts, there are many customizable features; for instance, you can even change the default browser in Outlook, dark mode Outlook, and create a shared calendar in Outlook.
So, if you’d like to learn how to change default font in Outlook for any version you’ve been using, we’ll help with the required steps to be followed.
How to Change Default Font in Outlook 2019, 2016, 2013, 2010, and Outlook for Microsoft 365?
If you’re using the desktop version of Outlook from 2010 to 2019 or Microsoft 365, follow these steps to change the default font:
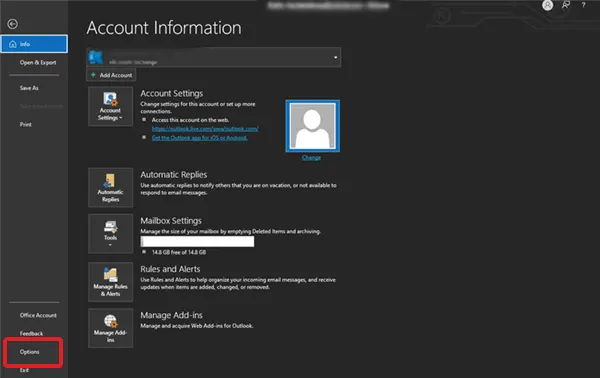
- Open Outlook on your PC or laptop, and go to Files >> Options.
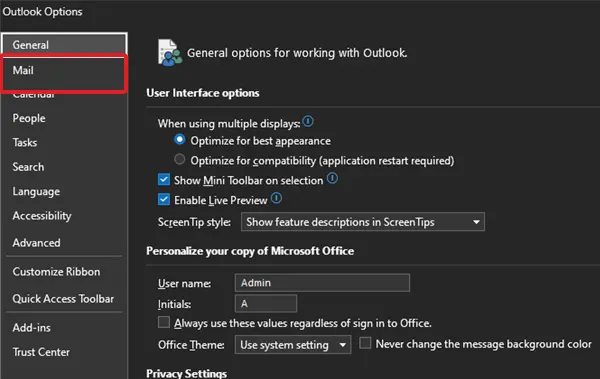
- Click the Mail option present on the left.
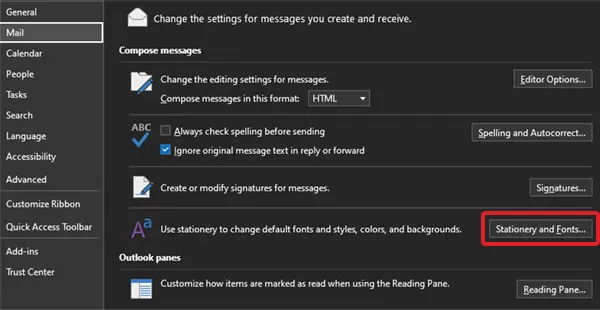
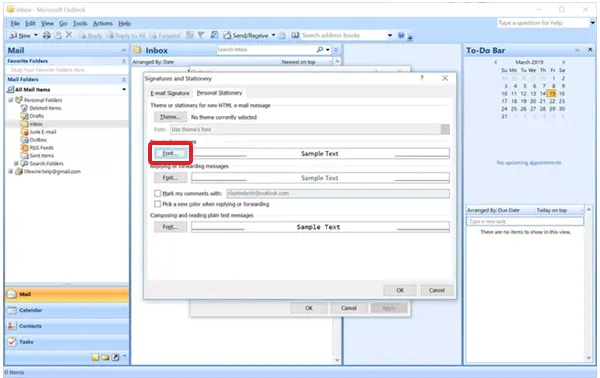
- Now, click Stationery and Fonts.
- Click on the ‘Font’ option available under various options in Outlook like ‘New mail messages,’ ‘Replying or forwarding messages,’ and ‘Composing and reading plain text messages.’
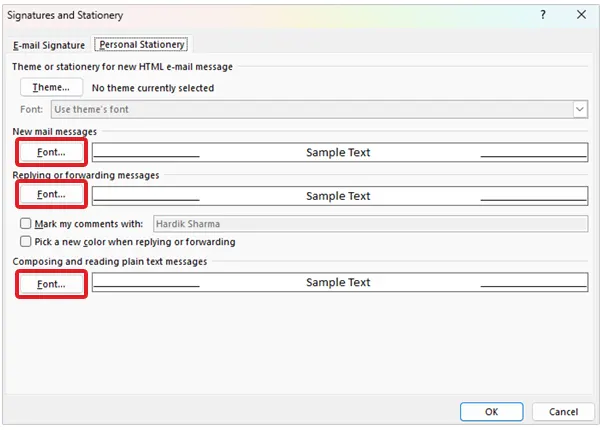
- Then, you can choose the font of your choice along with the style, size, color, and effect, and click OK to save the changes.

How to Change Font in Outlook 2007 and 2003?
Outlook 2003 and 2007 are probably the oldest versions of the platform, but the process of changing the font is almost the same as mentioned in the previous section. Here are the steps:
- Open Outlook on your PC or laptop and go to Tools >> Options menu.

- From the tabs mentioned at the top, choose Mail Format and click Stationery and Fonts. (Outlook 2003 users have to click ‘Fonts’)
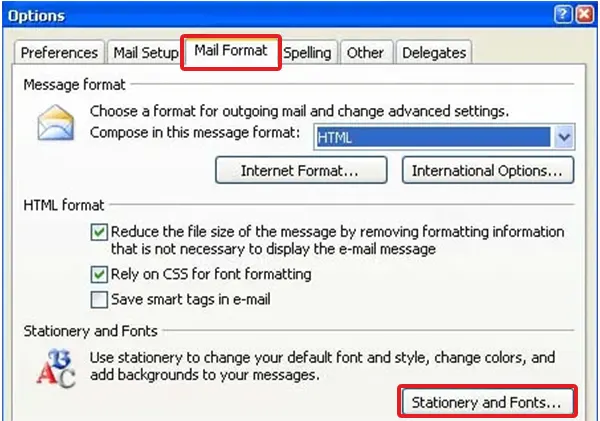
- Now, click Font mentioned under the options that you’d like to change the font for. They include ‘New mail messages,’ ‘Replying or forwarding messages,’ and ‘Composing and reading plain text messages.’ Choose your favorite font and, if required, change the desired font styles, sizes, and colors.
(Outlook 2003 users have to choose the option “Choose Font.”)
- Click OK to confirm the changes and close the option menu.
That’s it; it will change the default font features.
How to Change the New Message Default Font on Outlook.com (Web Version)?
While working on Outlook.com, it is possible to change the Outlook default font for outgoing messages. However, the web version of Outlook won’t allow you to change the default font for the messages displayed, as in the software version.
Here are the steps that you need to follow:
- Open and login to Outlook’s web version, or simply Outlook.com.
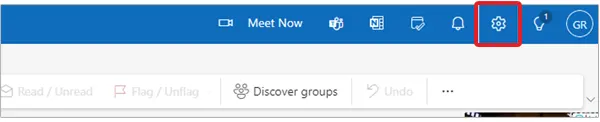
- Click the Settings icon present in the top-right corner.
- Then, go to Mail >> Compose and reply.
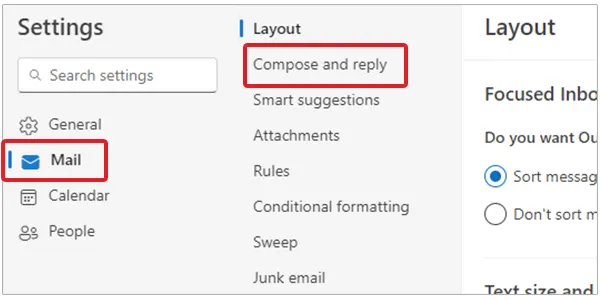
- Scroll down a bit, and under the ‘Message format,’ click the drop-down button for fonts.
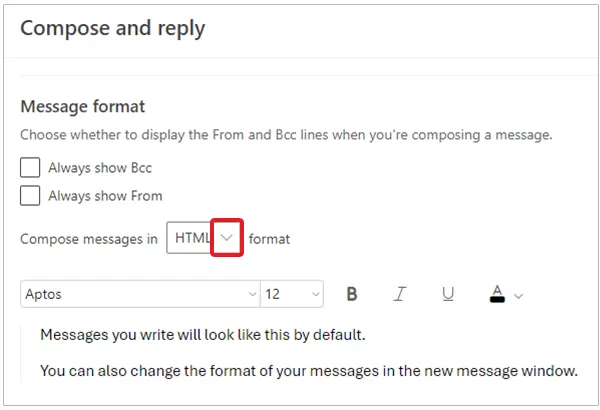
- Now, choose the font of your choice and click ‘Save’ to finalize the process.

That’s it; every new message you’ll compose on the platform will use the font of your choice.
Pro Tip: If you want to change or increase font size in Outlook 365 for a specific message, you can do that while composing the mail. For this, go to the bottom of the window, and you’ll find several options to change the appearance of the text.
How to Change Default Font in Outlook Mac?
If you’ve been using a MacBook and want to change the font style and size for Outlook, follow these steps:
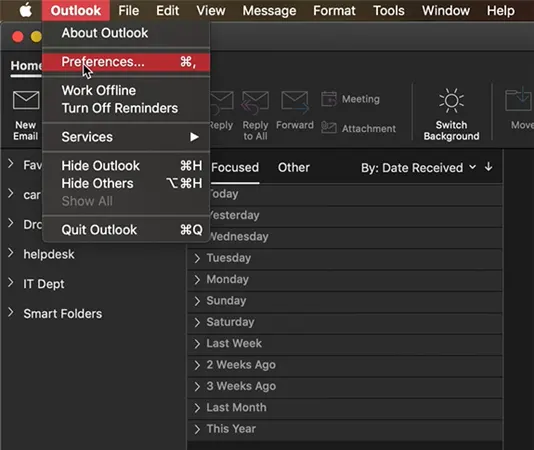
- Click on the Outlook tab present at the top alongside the Apple logo.

- From the drop-down menu, click on Preferences.
- A new window of Outlook Preferences will show up on the screen. Now, click ‘Fonts’ present under Personal Settings.

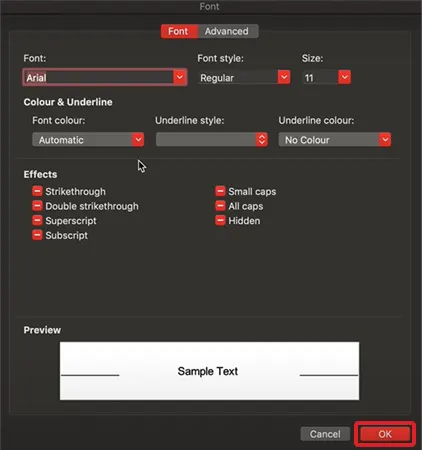
- You’ll see the ‘Fonts’ dialog box on your screen. Now, click on the ‘Font’ button next to new mail.

- Now, you can change the font type, style, and size as per your requirements. Click OK to confirm the changes made.
The same dialog box will appear for the other two options, i.e., ‘Reply or forward’ and ‘Plain text.’ After making the changes, you can see the font has been changed according to the new settings.
Wrapping Up
Microsoft Outlook allows you to customize the font and font size for the messages you send or receive. We have covered the steps you need to follow for the software version of the platform, the web version, and the Mac version as well.
You can simply explore the options available and make the text comfortable and visually appealing.
Frequently Asked Questions
How do I permanently change the font in Outlook?
How to change default font in Outlook Web App?
Go to Settings >> Mail >> Compose and reply >> Message format. Then, change the default font style.
Why did my Outlook default font change to Aptos?
The officials changed the default font to Aptos recently, and the reason behind this was the advent of higher-resolution screens. Aptos was chosen from the top five contenders after a public vote.
How do I change from Aptos to Calibri?
Go File >> Options >> Mail >> Stationery and Fonts >> Font. A dialog box will open from where you can change the default back to “Calibri” and save.

Related Posts

8 Best AI Presentation Makers for Business-Ready Slides
Making a presentation doesn’t just mean designing slides. It’s about defining a clear structure, using defined logic, useful visuals, and…

Queue Management Software Troubleshooting Guide: 8 Common Faults and Fixes
The long wait times and ineffective management of customer queues can have a significant impact on customer satisfaction and business…

How to Use Similarweb Website Traffic Data for Competitor Research
Competitor research without traffic data is guesswork. You can guess who your rivals are, guess how big they are, guess…

Choosing the Right Hosting Model for Scalable Digital Platforms
The performance of digital business is directly related to website speed, uptime, and scalability. Slow page performance has a negative…

How Data-Driven Performance Tools Are Transforming Employee Recognition in Tech Companies
“People work for money but go the extra mile for recognition, praise, and rewards.” — Dale Carnegie (Writer & Teacher)…

Why Businesses Struggle to Collect Reliable Data from the Web
Almost every company that depends on data runs into the same problem: although they can find the data they need,…

Why Financial Data Recovery Matters for Businesses
Financial data supports every part of a business, directly affecting cash flow, payroll, tax reports, audits, customer billing, and daily…

CMMC Compliance Is Coming for Manufacturers. Here Is What You Need to Do
“Cybersecurity is much more than a matter of IT.” — Stephane Nappo (Cybersecurity Professional) For manufacturers working within the defense…

How Data-Based Tools Influence Learning Performance
Learning has transformed in the modern age with the integration of new technologies to help students and professionals prosper in…