It is a USB drive containing a macOS installer that allows you to install or reinstall macOS directly from external media.
macOS Bootable USB: How to Create a Bootable Installer for Mac
A macOS bootable USB is not something every Mac user needs regularly. Apple says most upgrades and reinstalls can usually be handled through macOS Recovery. But when installation fails, recovery tools stop working, or your Mac refuses to boot properly, a bootable USB can save a lot of time and frustration.
Creating one is easier than it sounds. Once you have the correct installer file and a properly formatted USB drive, you can create a macOS USB installer in just a few steps.
Quick Answer: How to Create a Bootable macOS USB?
- Download the full macOS installer from Apple.
- Format a USB drive using Disk Utility.
- Use Apple’s createinstallmedia command in Terminal.
- Once created, you can boot your Mac from USB to reinstall macOS, perform a clean installation, or troubleshoot startup issues.
When Do You Need a macOS Bootable USB?
A macOS USB boot becomes useful when the normal installation or recovery methods stop working properly. You should create an installer if:
- Your Mac gets stuck during updates or installation.
- macOS Recovery is not working for you.
- Your system cannot boot normally.
- You want to perform a clean installation.
- You need to install macOS on multiple Macs.
- You want an emergency recovery installer ready.
- You want to downgrade macOS to an older version.
A bootable USB also gives you more control during troubleshooting issues like a Mac showing a pink Screen. Instead of relying completely on Internet Recovery, you already have the installer prepared and ready to use.
This becomes especially useful when the internet speed is slow, Apple recovery servers are unavailable, or older devices struggle with Mac recovery tools. It is not a daily-use feature. Think of it more as a recovery and troubleshooting tool for situations when normal methods fail.
What You Need Before Creating a Bootable USB for macOS?
Before starting to create a bootable installer for macOS, make sure everything is prepared properly. Most bootable USB errors happen because users skip setup steps. Here’s what you need:
1. A USB Drive With Enough Storage
Apple recommends at least 16 GB for older macOS versions and 32 GB or more for modern macOS installers. Also, remember that creating the installer completely erases the USB drive, so back up important files first.
Using a faster USB 3.0, USB-C, or Thunderbolt drive can also reduce installation time significantly.
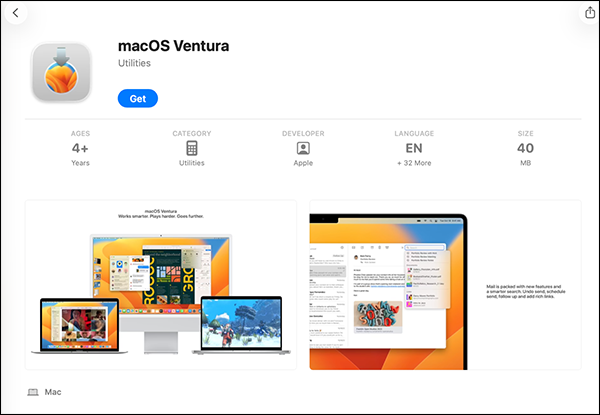
2. The Full macOS Installer
You need the full macOS installer application downloaded into the Application folder. You can download it from the App Store, a web browser, or the Terminal.
After downloading, the installer may open automatically. Close it immediately instead of continuing the installation. Many users accidentally complete the installation process, and macOS removes the installer afterward.
Also, make sure the installer is an app file (not a .dmg or .pkg file), stored inside the Applications folder, and your Mac supports that macOS version.
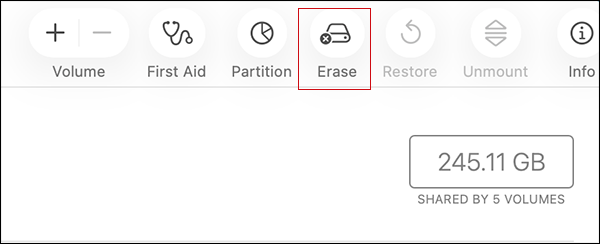
3. A Properly Formatted USB Drive
Before using Terminal to create a bootable USB:
- Open Disk Utility.
- Select the USB drive, and click on Erase.
- Now, choose Mac OS Extended (Journaled) as the format and GUID Partition Map as the scheme.
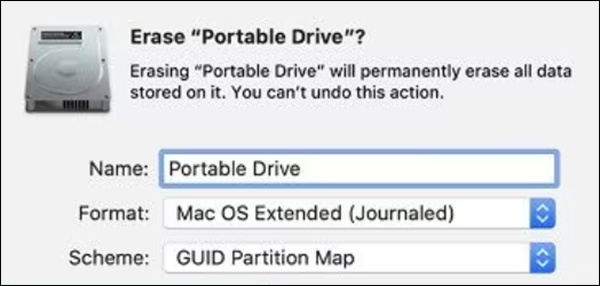
This formatting is required for Apple’s createinstallmedia process to work properly.
4. Administrator Access
You will also need an administrator password and Terminal access. This is because Apple’s createinstallmedia command uses sudo permissions.
Apart from these four requirements, you of course need an internet connection to download installers, verify Apple services, and complete firmware or iCloud checks during the installation.
How to Create a macOS Bootable USB?
We need to use the official Apple createinstallmedia command for creating bootable installers. Once your installer and USB drive are ready, you can easily create it. Here’s how:
- Plug the USB drive directly into your Mac. Avoid unstable adapters or USB hubs during the setup process.
- Next, go to Application > Utilities > Terminal.
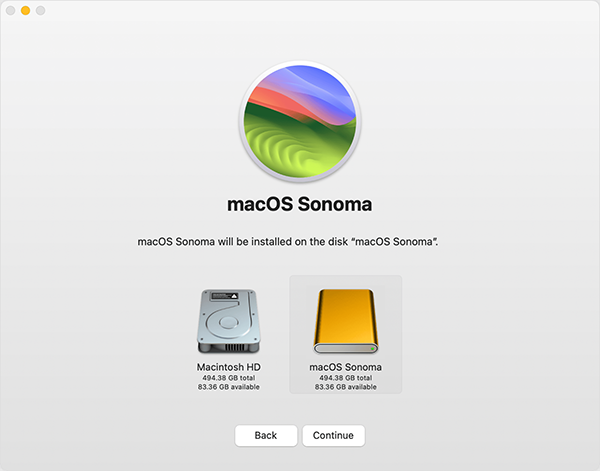
- Now, run the createinstallmedia command. The command changes depending on the macOS version you are using. For example, type the following command for macOS Ventura:
sudo /Applications/Install\ macOS\ Ventura.app/Contents/Resources/createinstallmedia –volume /Volumes/MyVolume

Rename your USB drive to “MyVolume” or replace “MyVolume” with your actual USB drive name.
- Then, enter the administrator password, press Y, and confirm USB erasure.
- Now, just wait for the process to complete. It usually takes 15 to 30 minutes, depending on USB speed.
Once finished, Terminal will show “Done”. Apple may also automatically rename the USB drive to the macOS installer name.
Copy the Apple createinstallmedia command for your macOS from here:
- Tahoe:
sudo /Applications/Install\ macOS\ Tahoe.app/Contents/Resources/createinstallmedia –volume /Volumes/MyVolume
- Sequoia:
sudo /Applications/Install\ macOS\ Sequoia.app/Contents/Resources/createinstallmedia –volume /Volumes/MyVolume
- Sonoma:
sudo /Applications/Install\ macOS\ Sonoma.app/Contents/Resources/createinstallmedia –volume /Volumes/MyVolume
- Ventura:
sudo /Applications/Install\ macOS\ Ventura.app/Contents/Resources/createinstallmedia –volume /Volumes/MyVolume
- Monterey:
sudo /Applications/Install\ macOS\ Monterey.app/Contents/Resources/createinstallmedia –volume /Volumes/MyVolume
- Big Sur:
sudo /Applications/Install\ macOS\ Big\ Sur.app/Contents/Resources/createinstallmedia –volume /Volumes/MyVolume
- Catalina:
sudo /Applications/Install\ macOS\ Catalina.app/Contents/Resources/createinstallmedia –volume /Volumes/MyVolume
- Mojave:
sudo /Applications/Install\ macOS\ Mojave.app/Contents/Resources/createinstallmedia –volume /Volumes/MyVolume
- High Sierra:
sudo /Applications/Install\ macOS\ High\ Sierra.app/Contents/Resources/createinstallmedia –volume /Volumes/MyVolume
- El Capitan:
sudo /Applications/Install\ OS\ X\ El\ Capitan.app/Contents/Resources/createinstallmedia –volume /Volumes/MyVolume –applicationpath /Applications/Install\ OS\ X\ El\ Capitan.app
How to Boot from the macOS USB Installer?
The startup process depends on whether your Mac uses Apple Silicon or Intel. The steps are slightly different for both.
Let’s see how to boot from the USB installer on Apple Silicon Macs:
- Shut down the Mac and connect the bootable USB.
- Press and hold the power button. Keep holding it until startup options appear on your screen.
- Here, select the USB installer, click on Continue, and just follow the on-screen instructions.
Here’s how to boot on other Mac devices:
- Shut down the Mac and connect the USB installer.
- Turn on the Mac, and immediately hold the Option key.
- Now, select the USB installer from the boot screen.
- Choose the language (if asked) and select the Install macOS option from the Utilities.
- Finally, just click Continue and follow the on-screen prompts.
If you have a Mac with the Apple T2 Security Chip and the external booting is blocked, you may need to allow external boot media through Startup Security Utility.
Conclusion
A macOS bootable USB is one of those tools you rarely need until something goes seriously wrong. But when macOS refuses to install, recovery stops working, and your Mac cannot boot properly, having a prepared installer can save hours of frustration.
Make sure that you use the official createinstallmedia method mentioned in this guide. You do not need any complicated third-party tools for most situations.
Frequently Asked Questions
What is a macOS bootable USB?
How much space do I need for a bootable macOS USB?
It is recommended to have at least 16 GB for older versions and 32 GB or more for modern macOS installers.
How do I make a bootable USB for macOS?
Download the full macOS installer, format the USB drive correctly, and use Apple’s createinstallmedia command in Terminal.
How to boot your Mac from a USB bootable device?
On Apple Silicon Macs, hold the power button during startup. On Intel Macs, hold the Option key during startup.
Do I need a bootable installer to reinstall macOS?
No, most reinstalls can be done through macOS Recovery mode. A bootable USB is mainly used for troubleshooting and clean installations.

Related Posts
Where is System Preferences on Mac? How to Open and Use It
If you are looking for System Preferences on Mac but can’t find it, you are probably using a newer version…
How to Right click on a Mac? Learn the 7 Tried and Tested Methods
Being a first-time MacBook user can be a bit challenging at times because you might be just practising new sets…
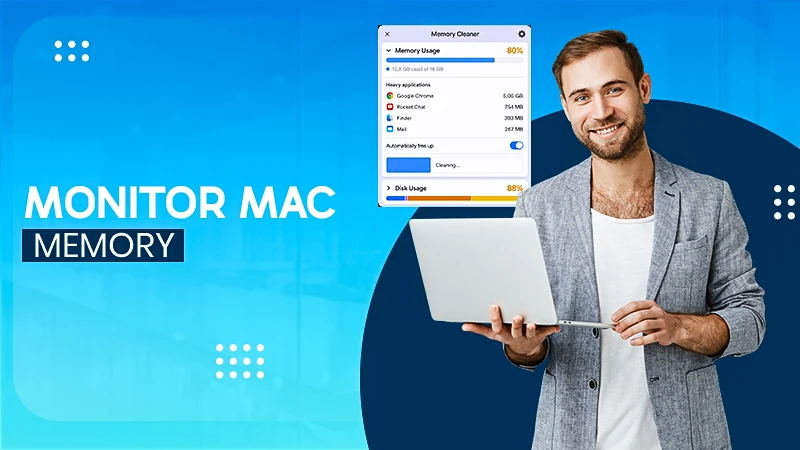
How to Clear RAM on Mac: Easy Ways to Free Up Memory
If your Mac is freezing, slowing down, or showing the “Your system has run out of application memory” warning, memory…
Clipboard History Mac: How to See and Manage Copied Items
Correct me if I am wrong, but most users do not think about the Mac clipboard until something important disappears.…
How to Check CPU Usage on Mac? (Tried and Tested Primary Method)
New Mac devices usually run smoothly, but over time, you may notice apps taking longer to open, the system heating…
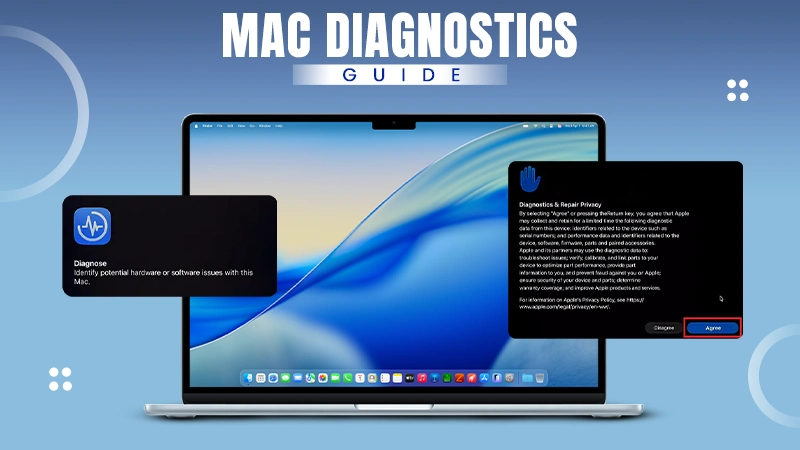
How to Run Diagnostics on Mac? (Apple Silicon and Intel)
Is your Mac lagging, crashing unexpectedly, or refusing to boot properly? Before you spend money on a repair shop, Datarecovee…
How to Check RAM Usage on Mac? Quick & Easy Methods
A slow or freezing Mac does not always mean the processor is struggling. In many cases, the real issue is…
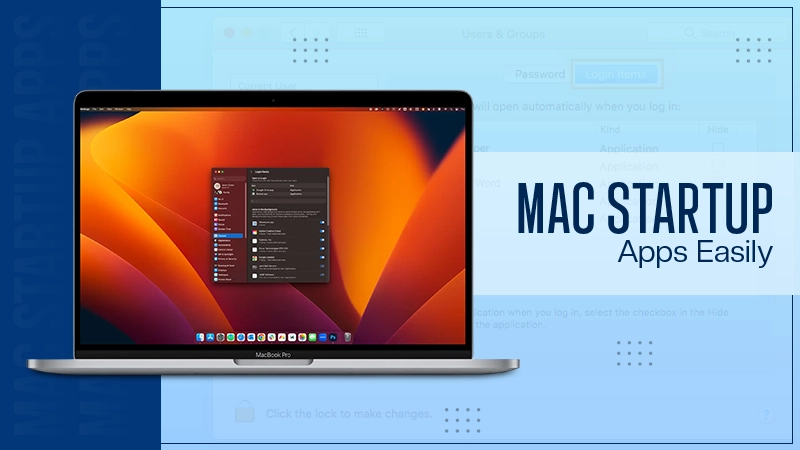
How to Manage Mac Startup Apps and Stop Apps Opening Automatically?
Mac startup apps are useful, but some startup items on Mac quietly slow down your system every time you log…
How to Stop Mac from Sleeping? Tried and Tested Methods
If you are wondering how to stop Mac from sleeping during a movie or a heavy download/upload, the answer is…